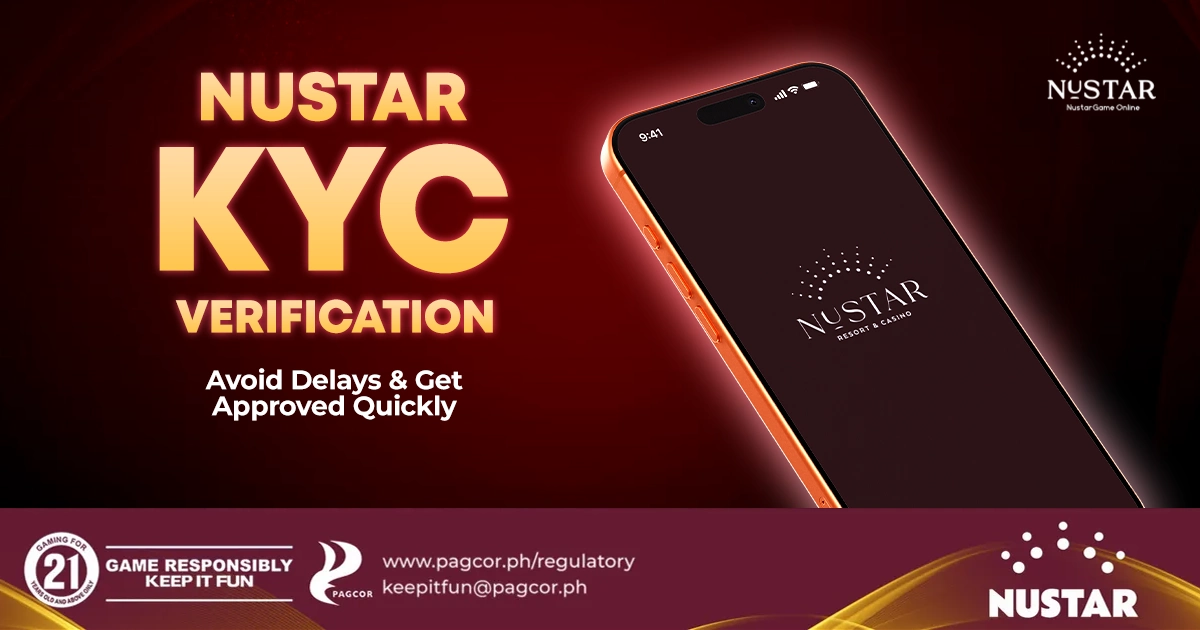
Completing Nustar KYC verification is one of the most important steps for users who want full access to their account features and services. KYC, or “Know Your Customer,” is a standard identity verification process used by platforms to confirm that users are real and legitimate.
In most online systems, Nustar KYC verification is required before users can withdraw funds, access premium features, or fully activate their account. This helps ensure platform security, prevents fraudulent activity, and creates a safer environment for all users.
Many users often rush through registration without understanding how important Nustar KYC verification is. However, completing it correctly the first time can save a lot of time and prevent delays later on.
NUSTAR KYC Requirements Before You Start
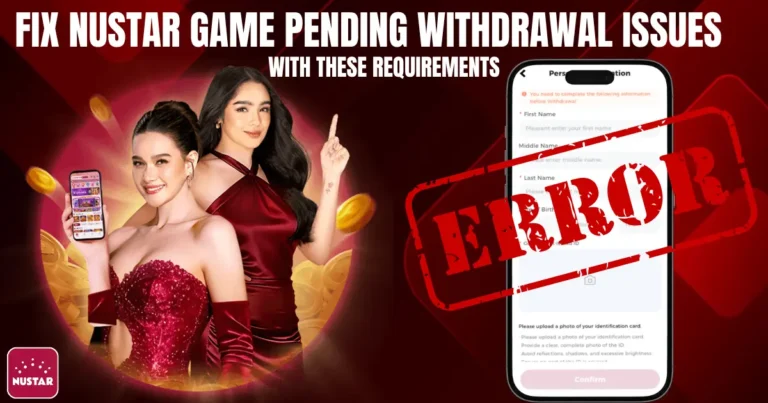
Before beginning your NuStar KYC verification, it is important to prepare all required documents and ensure everything is accurate. Missing or incorrect information is one of the main reasons for delays.
Here are the basic requirements:
- A valid government-issued ID (passport, driver’s license, or national ID)
- Clear and readable personal information
- A working camera or device for taking selfies (if required)
- Stable internet connection for uploading documents
The details you provide during NuStar KYC verification must match exactly with your official documents. Even small differences in spelling or formatting can lead to rejection or manual review delays.
It is also important to ensure your ID is not expired and all edges are visible in the photo. Blurry or cropped images are one of the most common causes of failed verification.
Step-by-Step NUSTAR KYC Verification Process
The process of NuStar KYC verification is generally simple if followed correctly. Here is a step-by-step breakdown:
Step 1: Log in to your account
Start by accessing your NUSTAR account using your registered credentials.
Step 2: Go to the verification section
Navigate to your profile or account settings where the KYC option is available.
Step 3: Start KYC process
Select the KYC verification option to begin the process.
Step 4: Upload your documents
Upload a clear photo of your valid ID and ensure all information is visible.
Step 5: Complete selfie verification (if required)
Some systems may ask for a live selfie to match your identity.
Step 6: Review before submitting
Double-check all details before final submission to avoid errors.
Step 7: Submit for approval
Once submitted, your NuStar KYC verification will be reviewed by the system or verification team.
Taking time to complete each step carefully can significantly reduce processing time.
How to Get NUSTAR KYC Approved Quickly
If you want faster results, there are several ways to improve your NuStar KYC verification approval speed.
First, always ensure your documents are clear and high-quality. Poor image quality is one of the biggest reasons for delays. Good lighting and a steady hand can make a huge difference.
Second, make sure all your personal details match your ID exactly. Even small inconsistencies in names or dates can cause verification issues.
Third, avoid uploading edited or filtered images. The system needs original, unaltered documents to verify authenticity.
Finally, complete your NuSTAR KYC verification in one session if possible. Incomplete submissions may require restarting the process, which delays approval.
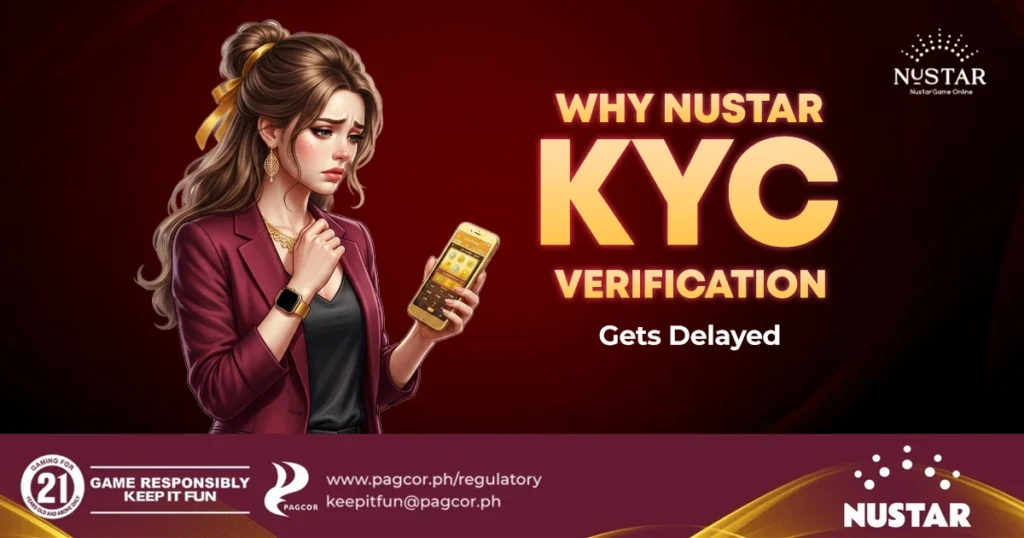
Why NUSTAR KYC Verification Gets Delayed
Delays in nustar kyc verification are common and usually caused by avoidable mistakes. Understanding these reasons can help you prevent them.
Some of the most common causes include:
- Blurry or low-resolution ID images
- Cropped or partially visible documents
- Incorrect personal information
- Mismatched names or birthdates
- High number of pending verification requests
In many cases, users assume the system is slow, but the delay is often due to incomplete or unclear submissions. Ensuring accuracy from the start helps avoid unnecessary waiting time.
What to Do If Your NUSTAR KYC Is Pending or Rejected
If your nustar kyc verification is pending or rejected, it does not mean your account is permanently blocked. Most issues can be fixed easily.
First, check your account status to see if there is any rejection reason provided. This usually gives a clear indication of what went wrong.
Next, carefully correct the issue. This may involve uploading a clearer image, correcting personal details, or submitting a different type of ID.
After making the corrections, you can resubmit your application. In most cases, the second attempt is approved if the errors are fixed properly.
If problems continue, contacting support is recommended for further assistance.
NUSTAR KYC Approval Time Explained
The time required for Nustar KYC verification approval depends on several factors, including document quality and system workload.
In general, approval can take anywhere from a few minutes to 24–48 hours. In some cases, manual review may extend the waiting period slightly.
Faster approvals usually happen when:
- Documents are clear and valid
- Information is accurate and complete
- No additional verification is required
During peak periods, processing may take longer due to higher submission volume. However, most users experience quicker approval when they follow the correct process.
Final Tips to Avoid KYC Delays on NUSTAR
To ensure a smooth Nustar KYC verification, preparation is key. Many users face delays simply because they rush the process without checking details.
Here are some final tips:
- Always use a valid and updated ID
- Ensure good lighting when taking photos
- Double-check all personal details
- Avoid submitting incomplete documents
- Follow instructions carefully during upload
By taking these steps, you significantly improve your chances of fast approval and avoid unnecessary delays.
Final Note
Completing Nustar KYC verification is a simple but important process that ensures account security and full access to platform features. When done correctly, it helps prevent delays, reduces rejection chances, and speeds up approval.
By preparing properly, following the correct steps, and avoiding common mistakes, you can complete your verification smoothly and efficiently.
Frequently Asked Questions (FAQs)
Can I complete NUSTAR KYC verification using a mobile phone?
Yes, you can complete the process using a mobile phone as long as your camera is clear and stable internet is available. Most users find mobile devices more convenient for taking photos of their ID and selfie verification.
What file formats are accepted for NUSTAR KYC documents?
Most systems accept common image formats such as JPG and PNG. It is important to ensure that the file is clear, not compressed, and fully readable before uploading.
Can I change my details after submitting NUSTAR KYC verification?
Once submitted, most personal details cannot be edited directly. If there is an error, you may need to wait for rejection or contact support for correction before resubmitting.
Is selfie verification always required for NUSTAR KYC?
Not always. Some accounts may only require ID submission, while others may request a selfie for identity confirmation depending on the system’s security checks.
What happens if I submit fake or edited documents in NUSTAR KYC verification?
Submitting fake or altered documents will likely result in immediate rejection and may lead to account restrictions. It is important to always use genuine and valid identification.